Countertops Lakewood CA Homes Need: A Tract House Counter Swap in the Right Order
On 18 Nov 2026
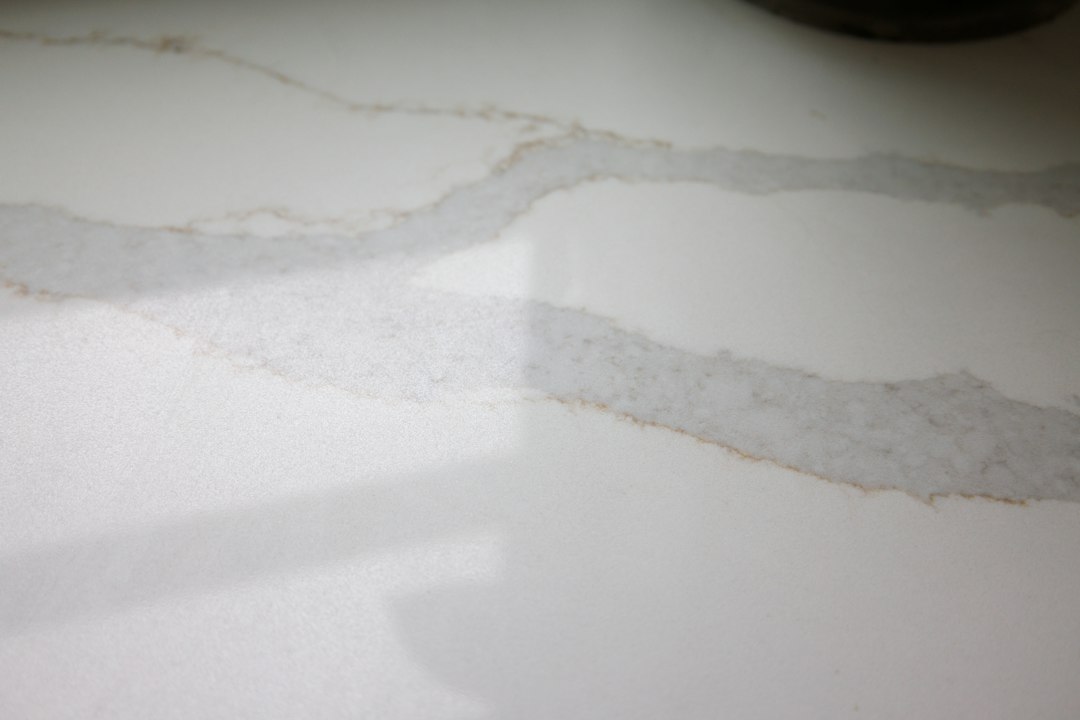
A counter is the last big piece to go into a kitchen, which makes it the first place every earlier shortcut shows up. In a Lakewood house built in the early 1950s, those shortcuts are often decades old and sitting under the old top, waiting to be discovered.
The order of work matters more than the stone you pick. Get the sequence right and almost any material performs well. Get it wrong and even a beautiful slab ends up with gaps, a cracked cutout or a sink that will not seat.
If the counters are part of a larger kitchen remodel, the schedule has a few fixed points: demolition and inspection first, cabinets set level next, fixtures chosen before anyone measures, and only then the template. The sections below follow that order.
Start With What Is Under the Old Top
Many original mid century kitchens carry ceramic tile set in a thick mortar bed over wire lath. It looks like a simple tile counter, but it comes off as a heavy, dusty slab of mortar. Plan for the extra demolition time, and plan to protect floors and the adjoining rooms.
Once the mortar is off, look at the cabinet tops. Water damage around the sink is common, and it is far better found now than after a new counter hides it. Soft, dark or crumbling wood needs repair before anything heavy goes on top.
Test Before You Tear
Houses built before 1978 may have lead paint. Older flooring, mastic and some textured wall or ceiling finishes from this era can contain asbestos. Neither one is a reason to panic, but both are a reason to have suspect materials tested before demolition disturbs them. A testing delay of a few days is much easier to live with than a contaminated house.
Deal With the Backsplash Honestly
Removing an old backsplash almost always damages the drywall behind it. Expect torn paper, gouges and uneven patches. Budget time to patch and prime the wall before a new backsplash goes up, because tile or stone set over a rough wall will telegraph every flaw.
Check the Boxes With a Long Level
Lakewood's tract homes are single story, and after seventy years the floors may have settled and walls may be out of plumb. The cabinet boxes may have followed along. Stone does not flex to hide an uneven base the way a thin laminate sheet can.
Lay a long level across the cabinet tops in several directions. If the run is off, shim and correct it before the counter is measured. Fasten the boxes to each other and to the wall. A cabinet that shifts after the stone is cut can open a gap along the wall or put stress on a seam.
Fix the Valves While Everything Is Apart
Old shutoff valves under the sink in houses of this age are often seized, or they weep a little when turned. A counter swap disconnects the plumbing anyway, so this is the cheapest moment to have them checked and replaced if needed. Nobody wants to discover a bad valve while a sink is hanging loose.
Think About the Shaking
Lakewood is in earthquake country. While the cabinets are exposed, make sure the uppers are screwed into studs and not just drywall. Latching hardware on doors that hold heavy dishware is a small addition. A cabinet that breaks loose and swings over a stone counter can damage both.
Choose Fixtures Before Anyone Measures
Stone fabricators template from the actual cabinets, and they cut openings from the exact model of sink and cooktop. That has two consequences.
- Cabinets must be installed, level and fastened before templating. Any shimming or cabinet change afterward can leave gaps or force a recut.
- The sink, faucet and cooktop should be on site, or fully specified, before the template is made. Changing a fixture after the cutout is made usually means the slab cannot be fixed.
Ask about the dishwasher too. It normally screws into the underside of a laminate or wood top, but stone needs side mount brackets fastened into the neighboring cabinets. Confirm this before install so nobody drills into the slab.
Ask Where the Seams Will Go
Galley style tract kitchens often have long L shaped runs, and a long L usually needs at least one seam. That is normal. What you can influence is placement.
Ask the fabricator to show seam locations before fabrication. Good placement keeps seams away from the sink and cooktop cutouts, where the stone is weakest, and out of the main sightline where possible. A seam you know about and agreed to is rarely a complaint later.
Support Any Overhang
If you plan seating at a peninsula, the overhang needs support. Thinner slabs and longer overhangs call for brackets or corbels. Ask what your stone and thickness require instead of trusting the cabinets alone to carry it.
Match the Material to the Light and the Water
Sun
Lakewood is sunny, and that matters for some materials. Quartz resin can yellow or fade after long direct sun exposure, so think carefully before putting it under a bright west or south window. Avoid it for outdoor kitchens and patio bars.
For outdoor counters, granite and other dense natural stone, or porcelain slabs, handle sun and temperature swings better. If glare bothers you, ask about a honed or leathered finish.
Heat
Most quartz needs no sealing, but the resin binder can scorch or discolor from direct heat. Trivets belong under hot pans, slow cookers and electric griddles. Quartz is not heat proof, and treating it as if it were is the usual way people ruin it.
Hard Water
Southern California tap water is hard, so expect white mineral rings around faucets and on dark polished stone. Wiping and drying the sink area each day prevents buildup far better than scrubbing it off later. Deposits are a cosmetic nuisance, not something that eats through quartz or granite.
Cleaning and Sealing Without Regret
Never use vinegar or another acidic descaler on marble, limestone, travertine or onyx. Acid etches calcite based stone and leaves dull spots, and sealing does not prevent that. Use a cleaner labeled safe for natural stone.
Sealer slows staining on porous stone, but it does not stop etching. To see whether granite or marble needs resealing, put a few drops of water on the surface. If the stone darkens within a few minutes, it is time. How often that happens varies widely by stone, so go by the test instead of a calendar.
A Note on Laminate
Laminate fails first at seams and around the sink, where water wicks into the particleboard core and swells it. Bubbling or swollen edges near the sink mean water is getting in. Recaulk early, because swollen substrate does not shrink back.
Habits That Protect the Finished Counter
A few small rules keep a new counter intact for years.
- Cut on a board every time. Quartz and granite dull knives, and laminate and solid surface show knife scores.
- Do not stand or kneel on the counter. The narrow strips of stone around sink and cooktop cutouts are the weakest points and crack under point loads.
- Recaulk the joint where the counter meets the wall or backsplash, and around the sink rim, when the caulk cracks, pulls away or grows mildew. That joint is the main path for water into the cabinet and wall.
- Watch an undermount sink. It hangs from the stone by clips and adhesive. If a gap or dark line forms between the rim and the stone, deal with it promptly, because a dropping sink can crack the edge or leak into the cabinet.
No countertop is indestructible or maintenance free, and cracks in stone cannot always be repaired invisibly. What a careful homeowner can do is shorten the list of surprises. Check the cabinets honestly, settle fixtures early, agree on seams, pick a surface that suits the light in your room, and keep the caulk lines sound. Do those things in that order and a seventy year old Lakewood kitchen can carry a new top as well as a new build can.